| Arachni's Haunt | ||||||
|---|---|---|---|---|---|---|

| ||||||
| Basic Info | ||||||
| ||||||
| Neighbor(s) | ||||||
| Magus Stones | ||||||
| Map | ||||||
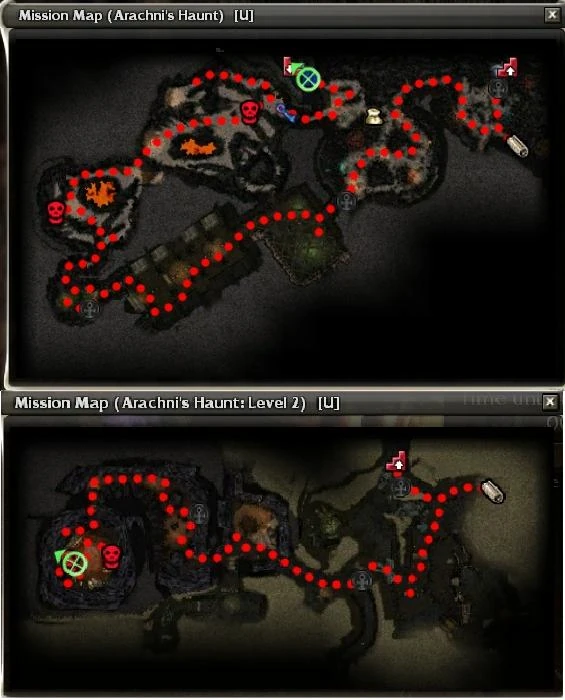 (click to enlarge) | ||||||
General Description
Region: Depths of Tyria
Arachni's Haunt is a 2-level dungeon. It is home to Arachni. You must have the quest Scrambled Reinforcements active in order to be able to progress further than the first level.
Getting There
Go southwest from Rata Sum through Magus Stones. The entrance to the Haunt is in the southwest corner.
NPCs
- Collectors
- Various:
 1 Beacon of Droknar
- 20 Commander Hixx
- 20 Hudd
- 20 Vask
Bestiary
Monsters
- Djinn
- Elementals
- 24 Flowstone Elemental (level 1)
- 24 Roaring Ether (level 1)
- Insects
- 20 Thorn Beetle Queen (level 2)
- 20 Ghosteater Beetle (level 2)
- 20 Thorn Beetle (level 2)
- Incubus
- 20 Cryptwing Incubus (level 2)
- 20 Bloodbath Incubus (level 2)
- 20 Bloodthirst Incubus (level 2)
- Jellies
- 20 Aggressive Ooze (level 1)
- 20 Earthbound Ooze (level 1)
- 20 Ominous Ooze (level 1)
- Skelk
- 24 Skelk Corrupter (level 1)
- 24 Skelk Slasher (level 1)
- Spiders
- 14 Spider (levels 1 and 2)
- 20-24 Needling Lavastrider (levels 1 and 2)
- 24 Venomweaver (levels 1 and 2)
- 24 Lifeweaver (levels 1 and 2)
- 24 Painweaver (levels 1 and 2)
- 24 Bloodweaver (levels 1 and 2)
- Others
- 10 Fungal Spore (level 1)
- 15 Parasitic Growth (level 1)
- 20 Flame Guardian (level 2)
- 20 Cave Aloe (level 1)
- 20 Corrupted Aloe (level 1)
Bosses
- Elemental
- 28 Lok The Mischievous (level 1) (Savannah Heat)
- Spiders
- 28 Brood Weaver (level 1) (Crippling Shot)
- 26 Spider Matriarch (levels 1 and 2) (Stunning Strike)
Boss-like foes
Rewards
- When opened, the Arachni Chest will produce 1 drop per player. (May be a Diamond, Sapphire, Ruby, Onyx Gemstone, a green or a gold item)
- Unique Items obtainable from the end chest:
- Arachni's Scythe
- Aracni's Longbow
- Aracni's Staff
- 1500 Asura Points
Notes
- The end boss is Arachni. When defeated an Arachni's Spoils spawns. There might be a spelling error in the chest name, as the minimap and the boss both show Arachni in the name. (see also: Aracni's Longbow)
- AoE damage is extremely useful against the large groups of low level spiders.
- It is useful to the party if you light the eggs one at a time due to a spawn of spiders per group of eggs. Also on the fourth group of eggs the spawn of spiders is delayed.
- Blinding skills, or skills such as Price of Failure, Reckless Haste, and Spiteful Spirit make the final boss battle much easier. The damage from Arachni comes from Barrage.
- Minion Masters are extremely useful, as they are very efficient in killing the many weaker mobs. There are enough corpses to easily support two Minion Masters. Consider using a Curses Necromancer with Barbs and Mark of Pain to boost the damage output considerably.
- Killing the Flame Guardian on level 2 disables the Fire traps.
- It is very important to complete the quest objectives on the first floor before moving on, as you cannot go back. Two of the Spider Matriarchs are on the first floor.
- When using Light of Deldrimor you can uncover a secret switch at the end of the room occupied by Lok The Mischievous which opens a secret area which may be entered on the south side of the same room. Be prepared: this "hidden" room is massive, much larger than the actual dungeon itself. As well as completely empty except for a Deldrimor Ghost located just inside the entrance. The rest of the "hidden" room is a composite map made up of other dungeons, mostly The Flame Cathedral, which take a long time to explore. All of the rooms look amazing and make perfect screen shots since there is no worry of interruption by enemies of any sort.
- When using Light of Deldrimor on the second level you can open the door near the area map by hitting the switch in the nearby room filled with incubi. You can also use it to find a Dwarven Ghost ally and two hidden treasures by using Light of Deldrimor in the water filled with coffins.
- Part of the second level of the dungeon is very similar to the second level of Vloxen Excavations
- It is not necessary to carry the Asura Flame Staff with you through all the levels as there are others scattered around by 4 bodies of dead asurans.