(-cat AWB) |
m (→Description: unlinking drop rate) |
||
| (9 intermediate revisions by 7 users not shown) | |||
| Line 1: | Line 1: | ||
{{boss-like foe-stub}} |
{{boss-like foe-stub}} |
||
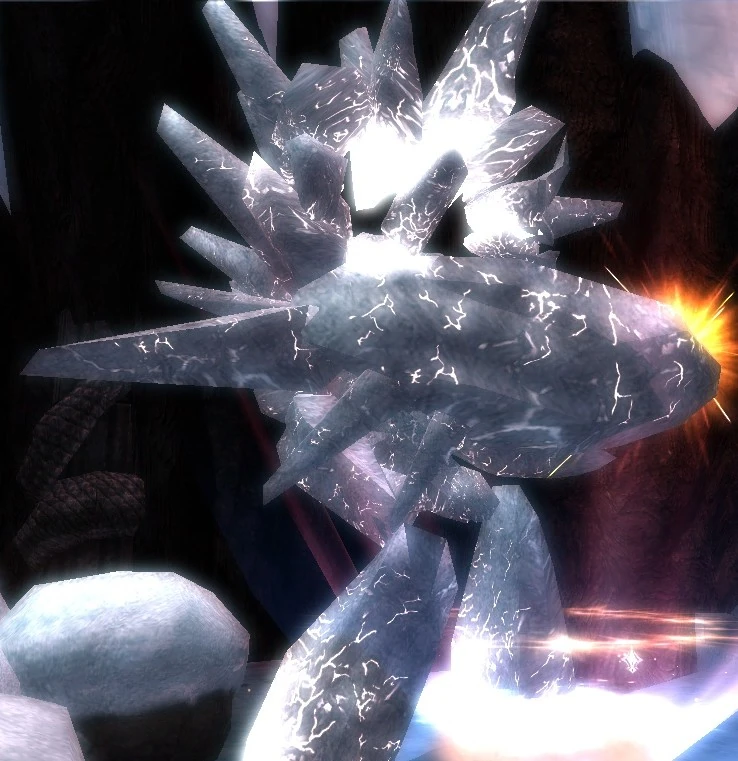
{{BeastInfo | name = Remnant of Antiquities| image=[[Image:RemnantOfAntiquities.jpg|128px]]| species = [[Elemental]]| prof = [[Elementalist]]| icon = [[Image:Elementalist-icon.png]]| level = 29, (32)}} |
{{BeastInfo | name = Remnant of Antiquities| image=[[Image:RemnantOfAntiquities.jpg|128px]]| species = [[Elemental]]| prof = [[Elementalist]]| icon = [[Image:Elementalist-icon.png]]| level = 29, (32)}} |
||
| + | |||
| + | {{Zaishen Quest}} |
||
| + | |||
==Description== |
==Description== |
||
| − | '''Remnant of Antiquities''' is the [[Boss |
+ | '''Remnant of Antiquities''' is the [[Boss-like foe]] you must defeat to complete the [[Sepulchre of Dragrimmar]] [[dungeon]]. As an elementalist, its spells can easily wipe out an unprepared party. It also has a retinue of two [[Shattered Elemental]]s. |
| − | Defeating it will spawn a [[ |
+ | Defeating it will spawn a [[Dragrimmar Chest]]. |
==Location== |
==Location== |
||
| Line 12: | Line 15: | ||
==Skills used== |
==Skills used== |
||
*{{skill icon|Deep Freeze}} |
*{{skill icon|Deep Freeze}} |
||
| − | *{{skill icon|Diamondshard Mist}} (causes [[Diamondshard Grave]]) |
+ | *{{skill icon|Diamondshard Mist}} (causes [[Diamondshard Mist (effect)]] and [[Diamondshard Grave]]) |
*{{skill icon|Frozen Burst}} |
*{{skill icon|Frozen Burst}} |
||
| − | *{{skill icon|Shatterstone}} |
+ | *{{skill icon|Shatterstone}} |
*{{skill icon|Water Attunement}} |
*{{skill icon|Water Attunement}} |
||
| Line 21: | Line 24: | ||
==Notes== |
==Notes== |
||
| − | *Remnant of Antiquities is |
+ | *In Hard Mode, Remnant of Antiquities is '''immune to [[Daze]].''' |
*When fighting Remnant of Antiquities, make sure the party is well spread out before engaging or else the high damage [[spike]] of [[Frozen Burst]] and [[Deep Freeze]] will take out the party fast. |
*When fighting Remnant of Antiquities, make sure the party is well spread out before engaging or else the high damage [[spike]] of [[Frozen Burst]] and [[Deep Freeze]] will take out the party fast. |
||
| − | *The |
+ | *The Dazed condition and various shutdown methods make this creature much easier to destroy in Normal Mode. [[Diversion]] is especially effective. |
*Be especially cautious of his [[Diamondshard Mist]], which causes the [[Diamondshard Grave]] damage effect. This spell will mark out several areas around its target (which look like [[Ward]]s) which will cause a slowing effect while in them. Moving out of these areas will prevent the damage and bleeding from being inflicted when the effect completes. |
*Be especially cautious of his [[Diamondshard Mist]], which causes the [[Diamondshard Grave]] damage effect. This spell will mark out several areas around its target (which look like [[Ward]]s) which will cause a slowing effect while in them. Moving out of these areas will prevent the damage and bleeding from being inflicted when the effect completes. |
||
*His range for the skill Diamondshard Mist appears to be 2-3 times that of the aggro bubble, and will cast 2-3 circles of the mist as soon as you begin to approach him. With the skill being so easily spammed (5 second recharge), having an interrupter or any skill that lengthens the recharge time of a skill is highly suggested. |
*His range for the skill Diamondshard Mist appears to be 2-3 times that of the aggro bubble, and will cast 2-3 circles of the mist as soon as you begin to approach him. With the skill being so easily spammed (5 second recharge), having an interrupter or any skill that lengthens the recharge time of a skill is highly suggested. |
||
| − | {{bug| In [[Hard Mode]] conditions on [[Remnant of Antiquities]] expire very quickly or are removed each second, making Boss unable to Daze.}} |
||
| − | [[Category: |
+ | [[Category:Elementals]] [[Category:Elementalists]] [[Category:Sepulchre of Dragrimmar]] |
| + | [[Category:Boss-like foes]] |
||
Latest revision as of 02:51, 20 January 2011
| Remnant of Antiquities | |||||||
|---|---|---|---|---|---|---|---|
 | |||||||
| Classification | |||||||
| |||||||

This article has an associated Zaishen Challenge Quest.
Description
Remnant of Antiquities is the Boss-like foe you must defeat to complete the Sepulchre of Dragrimmar dungeon. As an elementalist, its spells can easily wipe out an unprepared party. It also has a retinue of two Shattered Elementals.
Defeating it will spawn a Dragrimmar Chest.
Location
Skills used
 Deep Freeze
- Diamondshard Mist (causes Diamondshard Mist (effect) and Diamondshard Grave)
- Frozen Burst
- Shatterstone
- Water Attunement
Items dropped
Notes
- In Hard Mode, Remnant of Antiquities is immune to Daze.
- When fighting Remnant of Antiquities, make sure the party is well spread out before engaging or else the high damage spike of Frozen Burst and Deep Freeze will take out the party fast.
- The Dazed condition and various shutdown methods make this creature much easier to destroy in Normal Mode. Diversion is especially effective.
- Be especially cautious of his Diamondshard Mist, which causes the Diamondshard Grave damage effect. This spell will mark out several areas around its target (which look like Wards) which will cause a slowing effect while in them. Moving out of these areas will prevent the damage and bleeding from being inflicted when the effect completes.
- His range for the skill Diamondshard Mist appears to be 2-3 times that of the aggro bubble, and will cast 2-3 circles of the mist as soon as you begin to approach him. With the skill being so easily spammed (5 second recharge), having an interrupter or any skill that lengthens the recharge time of a skill is highly suggested.